Fixed Paths vs Mazing: Tower Defense Placement
Learn when to cover fixed lanes, shape enemy routes, or build a maze, with three defense-game examples and a practical leak-fixing checklist.
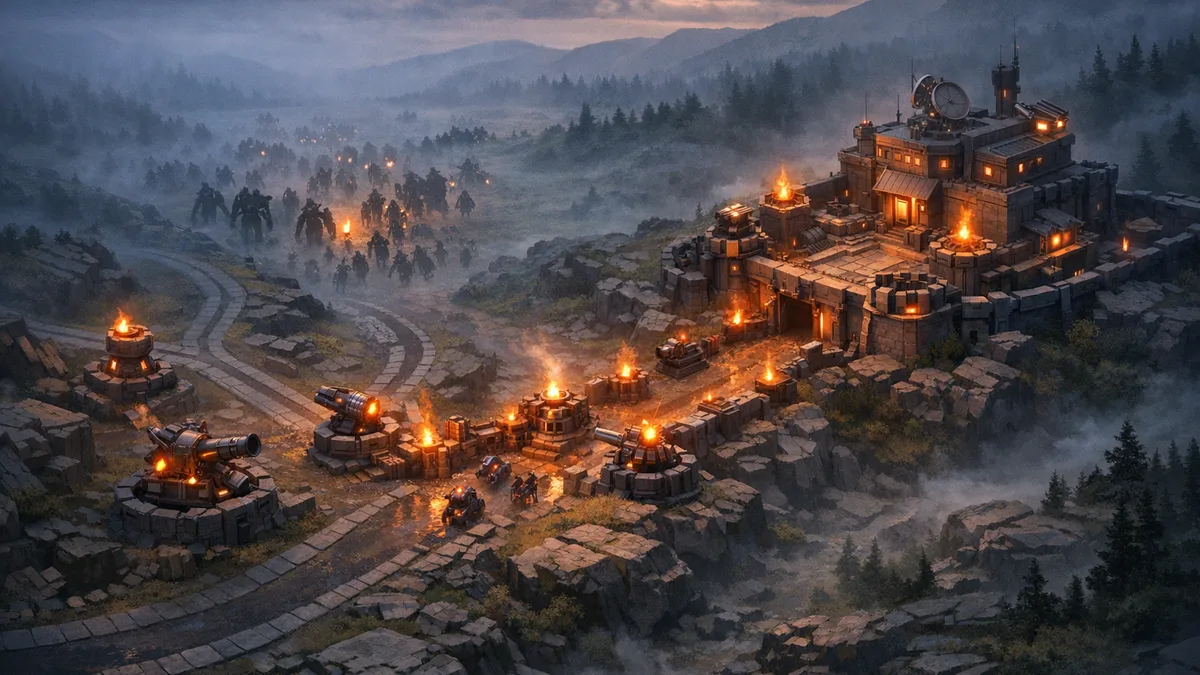
Identify what controls the enemy route before deciding where your damage belongs. A strong tower covering only the final stretch is usually a worse investment than a modest tower that can attack across a long, repeated section of the path.
This tower defense placement guide divides maps into three practical models: fixed paths, routes you can shape, and mazes you largely construct yourself. Knowing which one you are dealing with before spending prevents many early leaks.
Give the route a name before placing anything
Most beginner losses start before the wave arrives. The player sees an entrance and an objective, places damage near one of them, and upgrades whenever enemies survive. That approach ignores the map’s topology: where enemies travel, how their route can change, and how much useful firing time each position creates.
Start by identifying the placement model:
- Fixed-path: The route is established. Your main job is to place towers where their coverage captures useful portions of that route.
- Route-shaping: The game gives you some influence over where waves travel. Placement affects both damage and the shape of future coverage.
- Mazing: Constructing or extending the route is a central defensive responsibility. The path itself becomes part of the build.
These are working categories, not rigid genre boxes. A game may establish part of a route while letting you alter another part, or expand the battlefield as a run develops.
The distinction changes what failure means. In fixed-path tower defense, a leak often points to uncovered distance or poor upgrade timing. In tower defense mazing, the layout itself may have reduced firing time by sending enemies through a blind corner.
Read the map in three passes
Do not begin by asking which tower is strongest. Read the map in three passes: route, coverage overlap, and likely failure point.
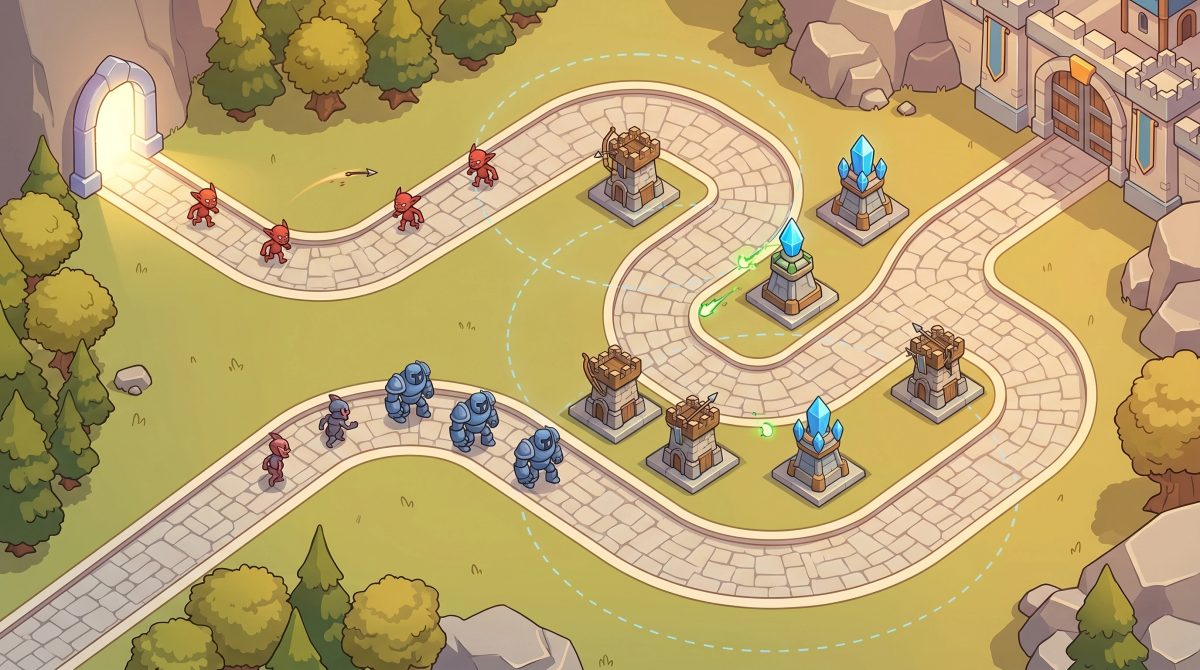
Pass one: trace the route
Follow each known path from entry to objective. Look for bends, parallel sections, intersections, and places where one position could affect more than one part of the route.
A position near the entrance is not automatically valuable. If enemies leave its range immediately, that tower contributes only a short opening burst. A central position covering two bends can remain relevant much longer.
Pass two: estimate useful coverage
Useful coverage is the route distance and frequency over which a tower can actually affect enemies. It is not simply the size of the tower’s range or its closeness to an entrance.
Look for positions where coverage can:
- Follow enemies through a long bend.
- Reach two nearby route segments.
- Cover a shared section used by multiple lanes.
- Remain relevant before and after another defensive position.
- Support a route change without creating a new blind spot.
Overlap is useful when it concentrates enough pressure at the right point. It is wasteful when several towers cover the same safe section while another lane remains untreated.
Pass three: predict the first failure point
Ask where an enemy is most likely to leave effective coverage while still alive. That location—not necessarily the objective—is your first likely failure point.
This pass turns a leak into evidence. If enemies survive one strong position and then cross a long uncovered section, more power at the original position will not solve the real problem. The map needs another coverage point.
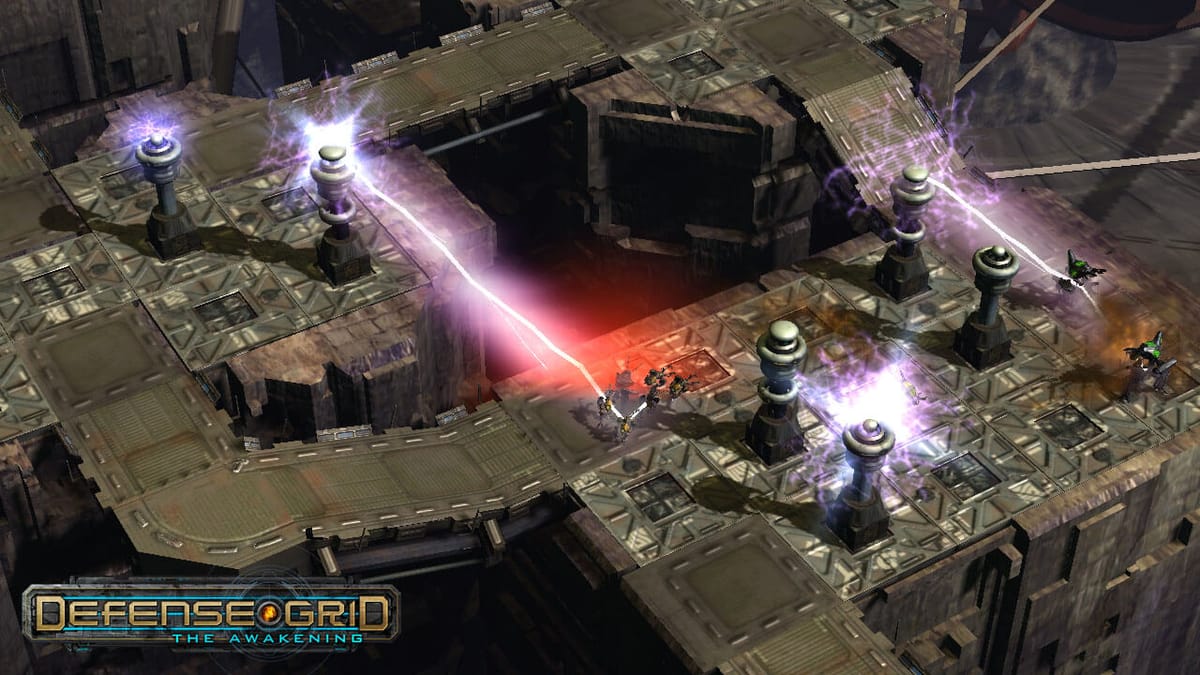
Defense Grid: The Awakening teaches fixed-route coverage
Defense Grid: The Awakening represents the established-route model in this guide. Its tight maps make strategic tower placement the central lesson: the route is the problem you must cover, not a structure you should assume you can freely redesign.
The transferable lesson is to judge positions by firing opportunity. Compare a dramatic-looking endpoint position with a central position that covers a bend, repeated segment, or broader portion of the approach. The central position can create more useful firing time even when it is farther from the objective.
This corrects the beginner habit of placing the most expensive tower on the final stretch. That placement leaves little recovery room: if its damage is insufficient, the leak is already close to becoming a loss. Earlier coverage gives the rest of the defense time to contribute.
The transfer limit matters. Fixed-path habits teach careful range use, but they do not teach you to evaluate the consequences of changing the route. Carry the coverage principle into a maze, not the static layout.
Radiant Defense adds route-shaping consequences
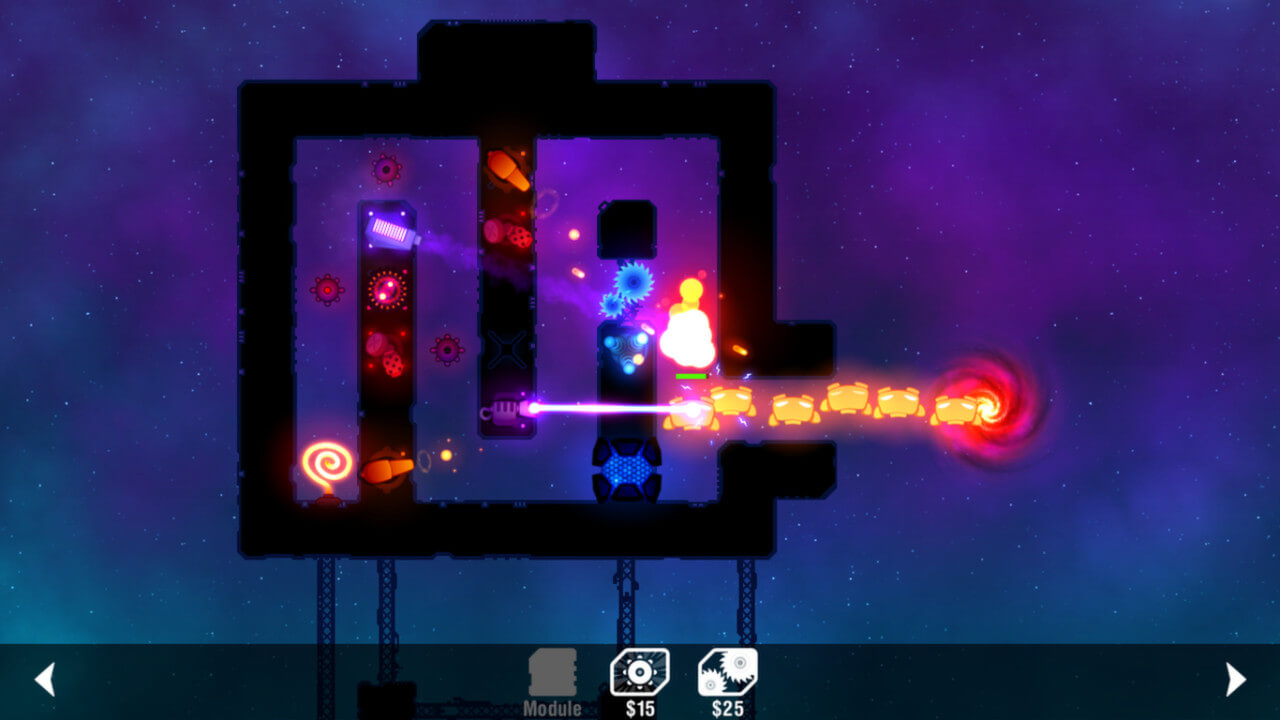
Radiant Defense adds another responsibility: routing waves while upgrading weapons. A placement can therefore change both where enemies travel and how long existing defenses can affect them.
The transferable lesson is to evaluate every route change by total useful coverage. Extending a path is not automatically an improvement. A longer route helps only when towers can attack along the added distance or when the new shape brings enemies back through meaningful coverage.
This corrects a common mazing mistake: measuring path length without examining sightlines and blind corners. Imagine extending a route around an empty pocket. The wave now travels farther, but nearby towers lose contact during the detour. The maze grew while the defense became less efficient.
Before committing resources, trace the proposed route and ask:
- Which existing towers gain firing time?
- Which towers lose contact with the wave?
- Does the new corner create an untreated segment?
- Will covering that segment require another purchase?
The transfer limit is that route shaping does not necessarily grant complete control over the path. Do not import assumptions about blocking, legal placement, or route validity from a full mazing game. In Radiant Defense, placement and route design have to be evaluated together.
Axon TD: Uprising makes the maze part of the defense
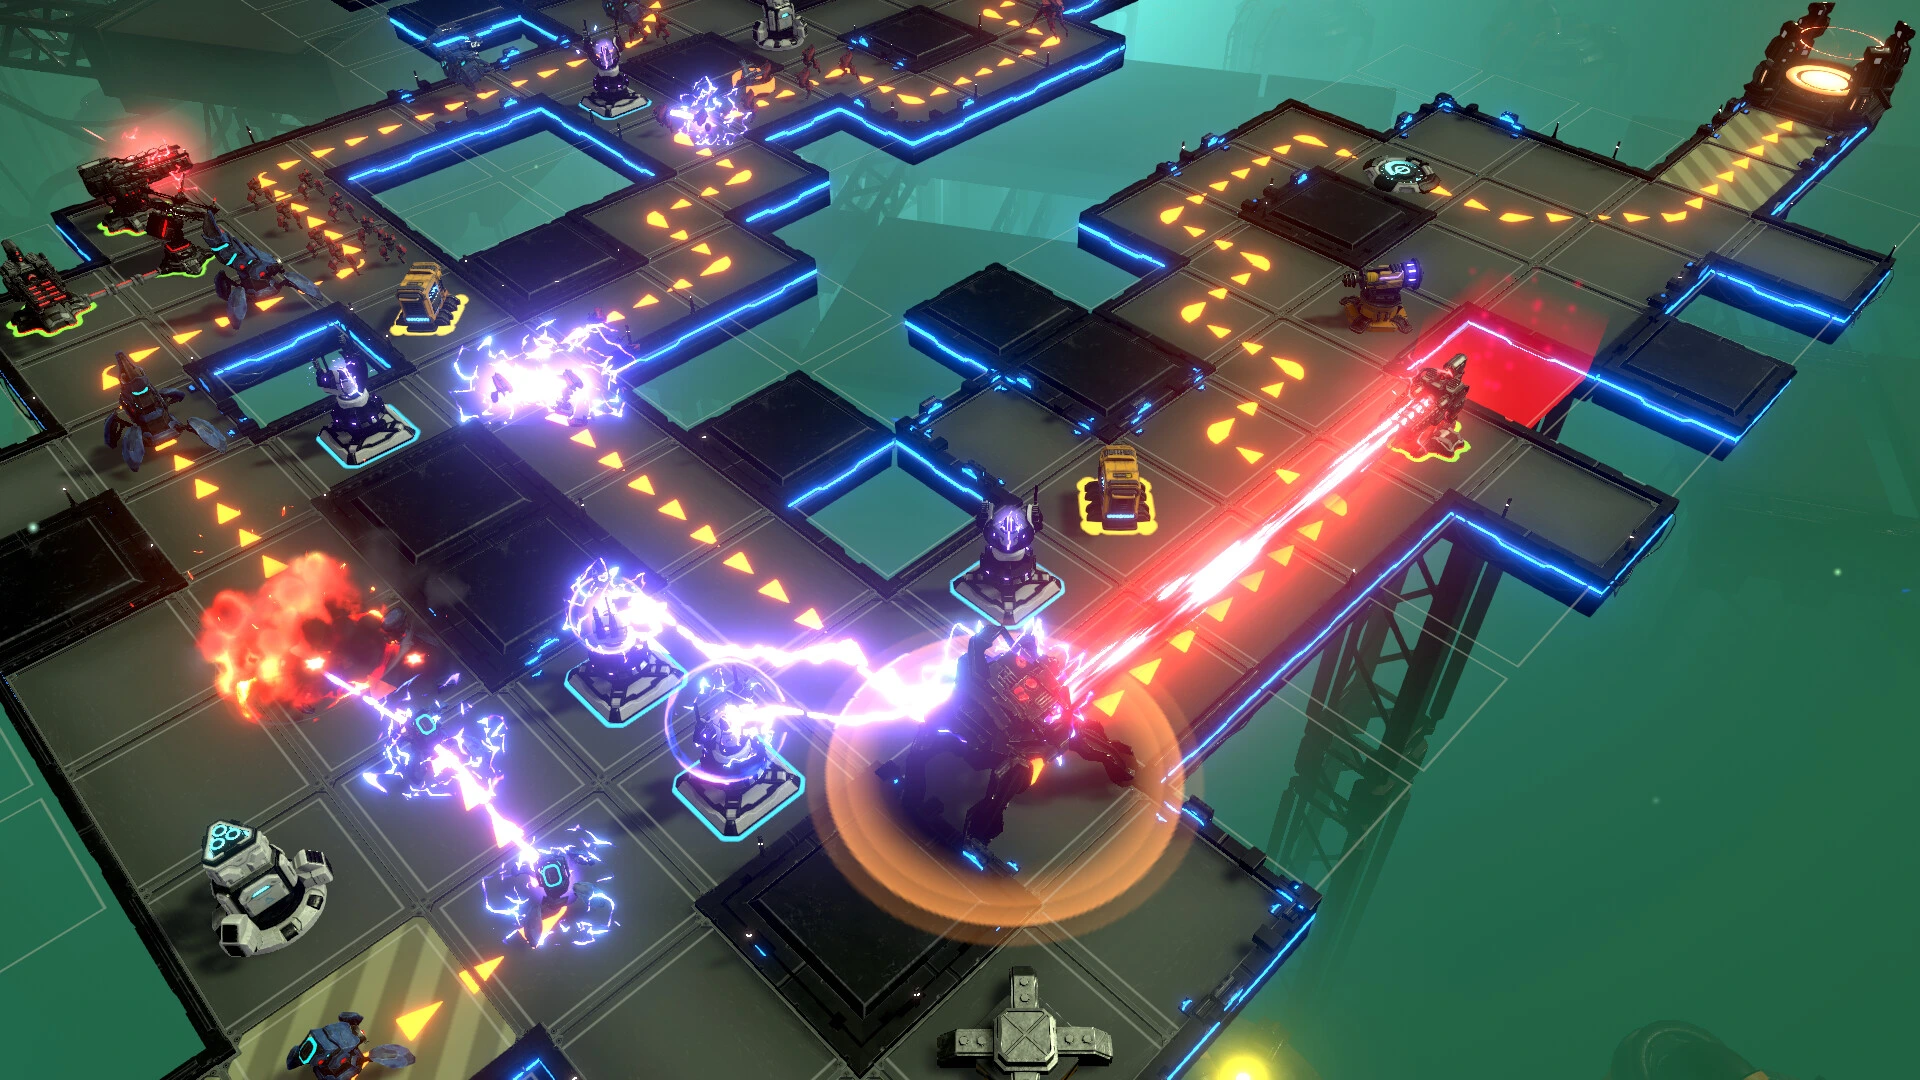
Axon TD: Uprising features expandable map boundaries and mazing. That makes route construction a central placement responsibility rather than a secondary adjustment around a settled path.
The transferable lesson is to build around firing time, not maze size. Each expansion should answer a defensive question: does it keep enemies under coverage longer, return them to a strong coverage zone, or create space that solves an existing pressure point?
This corrects the fixed-path habit of treating every tower position as an isolated damage purchase. In an explicit maze, a new placement can alter the value of earlier placements by changing where and when enemies enter their coverage. Copying a fixed-route formation without retracing the resulting path misses half of the decision.
Expandable boundaries add another planning consideration: space alone does not defend anything. If an expansion pulls the route away from established coverage, you may need additional placements before the change produces useful pressure.
The transfer limit runs in the other direction: do not take maze-building habits back into a fixed-path game and search for route control the map does not provide. Transfer the questions about firing time and coverage continuity, not assumptions about construction freedom.
Decide whether you need coverage or power
When resources are limited, name the problem before choosing another tower or an upgrade.
Add coverage when enemies spend meaningful time outside effective range, one lane remains untreated, or a route change has created a blind segment. A new tower solves a spatial problem by affecting enemies that existing defenses cannot reach consistently.
Increase power within existing coverage when enemies already remain under fire through the important section but survive it. An upgrade addresses insufficient pressure inside a position that is already doing the correct job.
Consider a leaking lane beside a heavily defended chokepoint. Upgrading the chokepoint improves damage against enemies that were already controlled while leaving the untreated lane unchanged. Conversely, adding another low-impact position to a route already covered end to end spreads resources when one well-positioned upgrade would strengthen the actual failure point.
Use this pre-wave check:
- Trace every active route from entry to objective.
- Mark the longest segment without meaningful coverage.
- Identify where multiple towers can affect the same pressure point.
- Check whether a route change creates a blind corner.
- Name the problem as missing coverage or insufficient power.
- Keep enough flexibility to respond if the wave exposes a different weakness.
Diagnose the leak before spending again
A leak is information. Watch where effective fire stops, where enemies separate from the intended pressure zone, and which purchase failed to affect the outcome.
- Untreated lane: Enemies entered a route that received little or no meaningful coverage. Add or reposition coverage rather than strengthening an unrelated lane.
- Insufficient firing time: Towers could attack, but only briefly. Look for a longer bend, shared route segment, or route shape that keeps enemies exposed.
- Wrong target coverage: Your strongest positions spent their attention where it did not stop the leaking group. Reconsider how the route distributes pressure before buying more raw power.
- Mistimed spending: The position was sound, but resources went into expansion or another placement when existing coverage needed more power—or into an upgrade while a lane remained open.
Change one variable where possible. If you simultaneously extend the maze, add two towers, and upgrade another, the next wave teaches little about which decision fixed the leak.
Transfer principles, not layouts
Across all three models, the durable skills are route tracing, useful-coverage estimation, chokepoint selection, and evidence-based spending. What changes is how much responsibility you have for creating the route itself.
Cover established paths where towers gain sustained opportunities. Shape routes only when the change improves total coverage. Build mazes around firing time rather than distance for its own sake.
If you want a game suited to your preferred placement model, explore these Beginner-Friendly tower defense picks. Choose your frontline by the kind of topology decision you want to make—not by a copied layout that may belong to a different pathing system.